


How to Create a VM in Proxmox and rebuild it with another OS
Proxmox VE is a platform to run virtual machines and containers. It is based on Debian Linux and completely open-source.
- How to Create a VM in ProxmoxVE?
There are three main steps to create a VM in Proxmox VE.
- Uploading an ISO to ProxmoxVE
- Creating a VM in ProxmoxVE
- Installing an OS in ProxmoxVE
These steps are explained in detail below:
1. Uploading an ISO to Proxmox VE
The first step when creating a VM in any hypervisor is to make sure we have the ability to install an OS on the VM. Uploading your ISO is easy Proxmox UI. You can follow the below steps to upload an ISO to Proxmox VE.
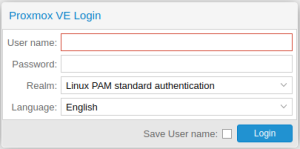
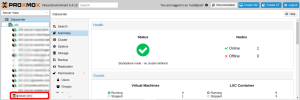
- Login into the Proxmoxby entering your username and Password.
- Click on the expand button at the left end of the Datacenter.
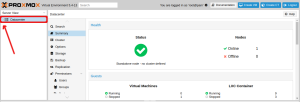
- This will list all the nodes in it. Expand it by clicking on the expand button at the left end of a node.
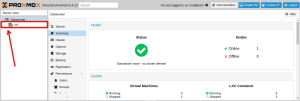
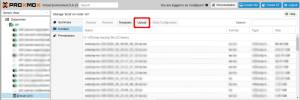
- Click local from the side panel on the left-hand side of your screen.
- Under the “Content” section, click the Upload button at the top of the screen.
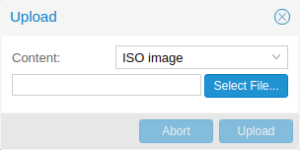
- A pop-up window will appear on the screen which enables you to select the ISO file from your local system. Click on the upload button after selecting the ISO file. The time it takes for your ISO to upload will be dependent upon the speed of your network and the size of the ISO. Once the upload is complete, you are ready to create your VM in Proxmox.
There is also a method to have the ISO file in the Proxmoxi.e. Downloading the ISO file to the server. The steps to download an ISO file to the server is given below:
1. After accessing the server via SSH, change the directory to “/var/lib/vz/template/iso”
cd /var/lib/vz/template/iso
2. Then find the URL of the ISO that is to be downloaded. The URL for Ubuntu 18.04 is given in the example below:
https://releases.ubuntu.com/18.04/ubuntu-18.04.5-desktop-amd64.iso
3. Then download the iso file using the wgetor axel command
wget https://releases.ubuntu.com/18.04/ubuntu-18.04.5-desktop-amd64.iso
or
axel https://releases.ubuntu.com/18.04/ubuntu-18.04.5-desktop-amd64.iso
4. The iso file will be downloaded to the location “/var/lib/vz/template/iso”
2. Creating a VM in Proxmox VE
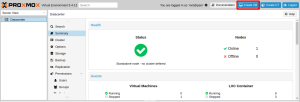
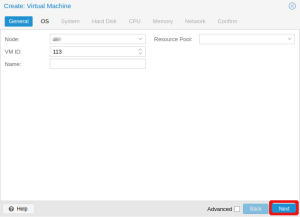
- To create a VM in ProxmoxVE, click Create VM at the top of the screen
- This will bring up the following pop-up window. Give your VM a name and then click the Next button
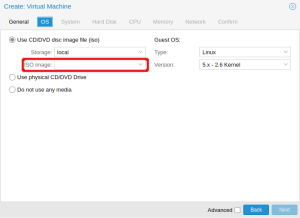
- On the OS tab, choose your ISO image to install your OS. Once you have chosen your operating system, click Next
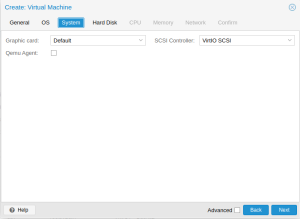
- You can click Next on the System tab
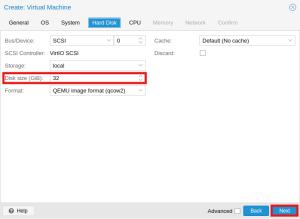
- On the Hard disk tab, choose how much storage space your need for your VM. After selecting the hard disk space, click the Next button
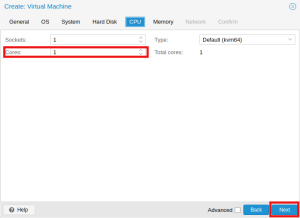
- On the CPU tab, choose the number of cores you need for your VM. Once you have set your CPU settings, click Next
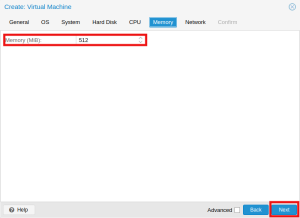
- On the Memory tab, select how much RAM you wish to allocate to your VM. Click Next to advance to the Network tab
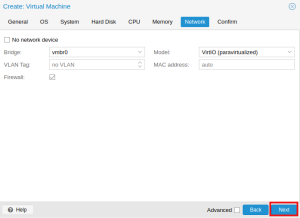
- You can click on the Next button in the Network tab.
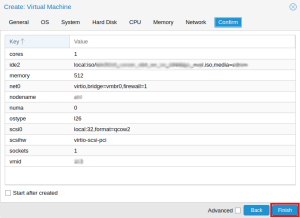
- Once you reach the Confirm tab, ensure the information is correct, and then click Finish. Your VM will be created with the parameters you have chosen.
3. Installing an OS in Proxmox VE
- The actual installation of the OS will differ depending on the OS you choose. However, you can easily begin the installation in ProxmoxVE’s user interface. To begin, choose your VM from the “Server View” panel on the left-hand side of your screen.
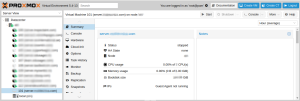
- Start the VM by clicking the Start button at the top of the screen.

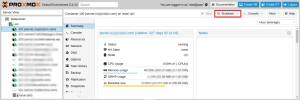
- Once the VM has started, click the Console button at the top of the screen and select the noVNC

After this, follow your operating system’s installation instructions. Windows operating system installation steps are explained below.
Launching Windows install:
- Follow the installer steps until you reach the installation type selection where you need to select “Custom (advanced)”
- Now click “Load driver” to install the VirtIOdrivers for the hard disk and the network.
- Hard disk: Browse to the CD drive where you mounted the VirtIOdriver and select folder “vioscsi\w10\amd64” and confirm. Select the “Red Hat VirtIO SCSI pass-through controller” and click next to install it. Now you should see your drive.
- Network: Repeat the steps from above (click again “Load driver”, etc.) and select the folder “NetKVM\w10\amd64”, confirm it and select “RedhatVirtIO Ethernet Adapter” and click next.
- Memory Ballooning: Again, repeat the steps but this time, select the “Balloon\w10\amd64” folder, then the “VirtIOBalloon Driver” and install it by clicking next. With these three drivers, you should be well covered to run a fast virtualized Windows 10 system.
- Choose the drive and continue the Windows installer steps.
2. How to rebuild a VM with another OS in ProxmoxVE?
While rebuilding, there is a chance of losing your current data. So to be safe take a backup of all contents in the server.
To rebuild the operating system of a VM with another operating system in Proxmox, you can follow the following steps.
First, stop the VM. To stop the VM click on the shut down after clicking the VM which is to be stopped
Under the “Options” section, select “OS Type”, and click on “Edit” on the top of the screen.
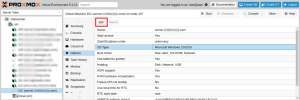
Select the OS and version which you need from the popup window and click on OK.

Then restart the VM by clicking on the Start button.
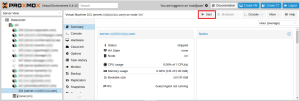
Your VM should now be running the new OS.