Django is a Python-based free and open-source web framework that can be used for developing dynamic websites and web applications. In this article, we will explain the procedures to configure Django with Apache in CentOS 7.
Requirements
- Server running with CentOS 7
- Static IP address configured on your system. (We are using IP 148.251.214.61 as an example)
- User with sudo privilege.
Install Apache Web Server
Before starting the configuration, update the server with the latest version using the following command. It will install all the latest patches and security updates to your system.
sudoyum update -y
Install the EPEL repository on your server using the following command.
sudoyuminstallepel-release -y
sudoyuminstallpython2-pip httpd mod_wsgi -y
Proceed to the next step once the installation is completed.
Install Django
Before installing Django, it is required to create the Python virtual environment. So you will need to install “virtualenv”.
sudopipinstallvirtualenv
After installing the “virtualenv” create a project directory for Django.
sudomkdir/opt/djangoproject
Create a Python virtual environment using the following commands.
cd/opt/djangoprojectsudovirtualenv djangoprojectenv
Enable the virtual environment to install packages.
sudosourcedjangoprojectenv/bin/activate
Install Django in the djangoprojectenv shell using pip command.
djangoprojectenv) [root@server djangoproject]# pip install django
Once the installation is completed, you can verify the Django version using the following command.
(djangoprojectenv) [root@server djangoproject]# django-admin --version
You should see something similar to:
1.11.18 |
Create the Django Project
Once Django is installed in the directory, create first Django project using the following command.
djangoprojectenv) [root@server djangoproject]# django-admin.py startproject myfirstproject.
Next, Modify the file “settings.py"
(djangoprojectenv) [root@server djangoproject]# vi myfirstproject/settings.py
Add the following line at the end of the file and save.
STATIC_ROOT = os.path.join(BASE_DIR,"static/")
Transfer the database of the project to the SQLite database using the command given below.
(djangoprojectenv) [root@server djangoproject]# ./manage.py migrate
Output :
Operations to perform:Apply all migrations: admin, auth, contenttypes, sessionsRunning migrations:Applying contenttypes.0001_initial... OKApplying auth.0001_initial... OKApplying admin.0001_initial... OKApplying admin.0002_logentry_remove_auto_add... OKApplying contenttypes.0002_remove_content_type_name... OKApplying auth.0002_alter_permission_name_max_length... OKApplying auth.0003_alter_user_email_max_length... OKApplying auth.0004_alter_user_username_opts... OKApplying auth.0005_alter_user_last_login_null... OKApplying auth.0006_require_contenttypes_0002... OKApplying auth.0007_alter_validators_add_error_messages... OKApplying auth.0008_alter_user_username_max_length... OKApplying sessions.0001_initial... OK
Create a superuser for Django. While creating superuser you will be asked to select a username, e-mail address and password.
(djangoprojectenv) [root@server djangoproject]# ./manage.py createsuperuserUsername (leave blank to use'root'): djangoadminEmail address:Password:Password (again):Superuser created successfully.
Collect all of the static content into the directory location we configured earlier using the following command.
(djangoprojectenv) [root@server djangoproject]# ./manage.py collectstatic
Add server’s IP address to “request.py" file to access Django from the remote machine.
(djangoprojectenv) [root@server djangoproject]# vi djangoprojectenv/lib64/python2.7/site-packages/django/http/request.py
allowed_hosts = ['localhost','148.251.214.61','[::1]']
Test Django project by running the following command.
(djangoprojectenv) [root@server djangoproject]#./manage.py runserver 0.0.0.0:8989
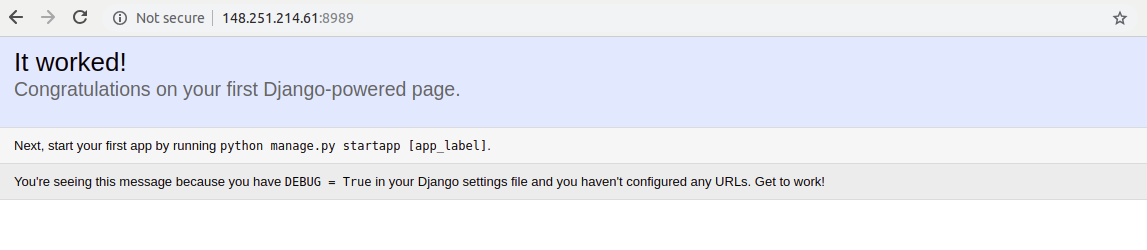
Open your web browser and type the URL “http://148.251.214.61:8989", you should see your first Django page.
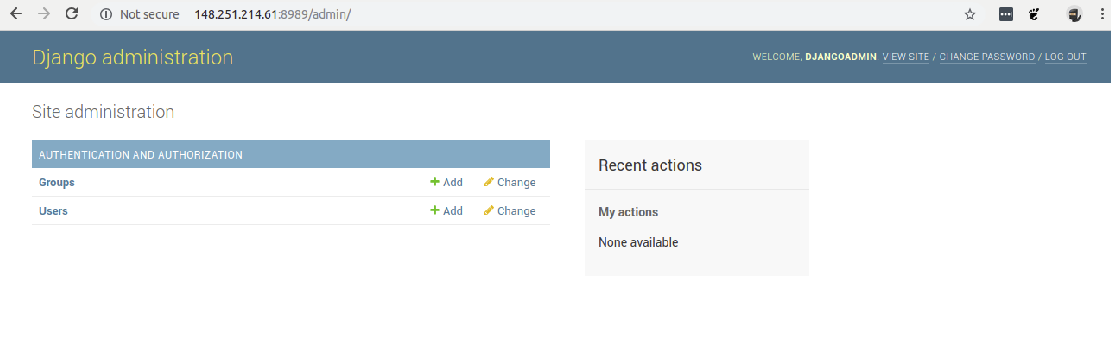
You can also access the Django admin page by typing the URL “http://148.251.214.61:8989/admin" on your web browser. Enter username “djangoadmin" and the password which you have created earlier.
To exit from your virtual environment, use the following command.
(djangoprojectenv) [root@server djangoproject]# deactivate
Configure Django for Apache
After creating a Django project, it is time to configure Apache web server for Django. Create a new configuration file.
sudovi/etc/httpd/conf.d/django.conf
Add the following code and save the file.
Alias/static/opt/djangoproject/static<Directory/opt/djangoproject/static>Require all granted</Directory><Directory/opt/djangoproject/myfirstproject><Files wsgi.py>Require all granted</Files></Directory>WSGIDaemonProcess myfirstproject python-path=/opt/djangoproject:/opt/djangoproject/djangoprojectenv/lib/python2.7/site-packagesWSGIProcessGroup myfirstprojectWSGIScriptAlias //opt/djangoproject/myfirstproject/wsgi.py
Restart Apache service and enable it to start at boot.
sudosystemctl restart httpdsudosystemctlenablehttpd
Set proper ownership so “httpd" has permission to use the Django project directory.
sudochown-R apache:apache/opt/djangoproject
You can access your Django site using the URL “http://148.251.214.61/admin" on your web browser without specifying any port.
![]()