Published on: March 25, 2019 by Albert Reilly
Scenario:
INSTALLING AND SECURING PHPMYADMIN
A website may require database connection and management. Here we will install phpMyAdmin, a common database management tool. Then we will follow some steps to secure it and using this tool, create a database and a user.
To setup the server, you will need to follow the Part One of this series.
Install phpMyAdmin using the below command and restart Apache.
# yum install phpMyAdmin -y

# systemctl restart httpd.service
You can access the interface from the browser. But you will be getting a 403 permission error. In that case, open the configuration file /etc/httpd/conf.d/phpMyAdmin.conf and edit some lines. If you want to access phpMyAdmin from anywhere, add Require all granted between the lines as below or you can add Require ip xxx.xxx.xxx.xxx for a specific IP.
<IfModule mod_authz_core.c>

# Apache 2.4

<RequireAny>

Require ip 127.0.0.1

Require ip xxx.xxx.xxx.xxx

Require ip ::1

Require all granted

</RequireAny>

</IfModule>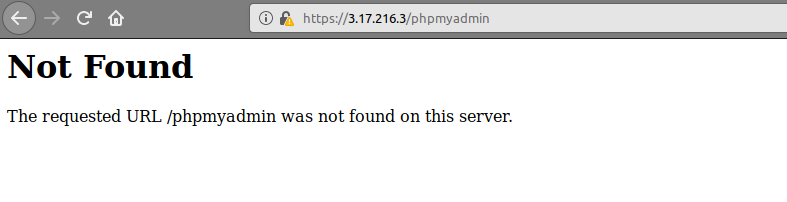
We can secure the installation by following some methods. We can change the URL with which the interface is accessed. Open the configuration file and make change as below. Feel free to change MyAdmin to anything you like. Make sure you restart Apache after you make change to the configuration file.
 # vi /etc/httpd/conf.d/phpMyAdmin.conf

#Alias /phpMyAdmin /usr/share/phpMyAdmin

#Alias /phpmyadmin /usr/share/phpMyAdmin

Alias /MyAdmin /usr/share/phpMyAdmin

# systemctl restart httpd.service
Now you will need to call http://xxx.xxx.xxx.xxx/MyAdmin instead of http://xxx.xxx.xxx.xxx/phpMyAdmin to get the interface.
We will setup an authentication prompt that a user would be required to pass before going to the phpMyAdmin login screen. For that, we will need to override the admin configurations by adding the line AllowOverride All as below allowing us to specify additional configuration details in a file .htaccess located in phpMyAdmin directory. We will use this file to set up our password authentication.
# vi /etc/httpd/conf.d/phpMyAdmin.conf

<Directory /usr/share/phpMyAdmin/>

AddDefaultCharset UTF-8

AllowOverride All

<IfModule mod_authz_core.c>

.....
Now, add the below contents to the file.
# vi /usr/share/phpMyAdmin/.htaccess

AuthType Basic

AuthName "Admin Login"

AuthUserFile /etc/httpd/auth_pass

Require valid-user
AuthType Basic specifies the authentication type that we are implementing. This type will implement password authentication using a password file. AuthName sets the message for the authentication dialog box. AuthUserFile sets the location of the actual password file that will be used for authentication. This should be outside of the directories that are being served. Require valid-user specifies that only authenticated users should be given access to this resource.
Now we will move on to create the Password File for Authentication. We can create multiple users by removing the -c option. We use this option to create the file as it doesn’t exists.
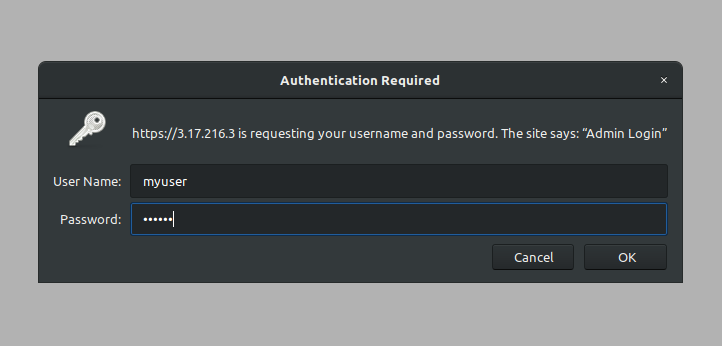
# htpasswd -c /etc/httpd/auth_pass myuser

New password:

Re-type new password:

Adding password for user myuser
Finally, restart Apache service and access the phpMyAdmin page. You will be asked for the username and password we have just created.
# systemctl restart httpd.service
Now we will create a database user for our website and then will disallow root login. Login as root and click on users tab.
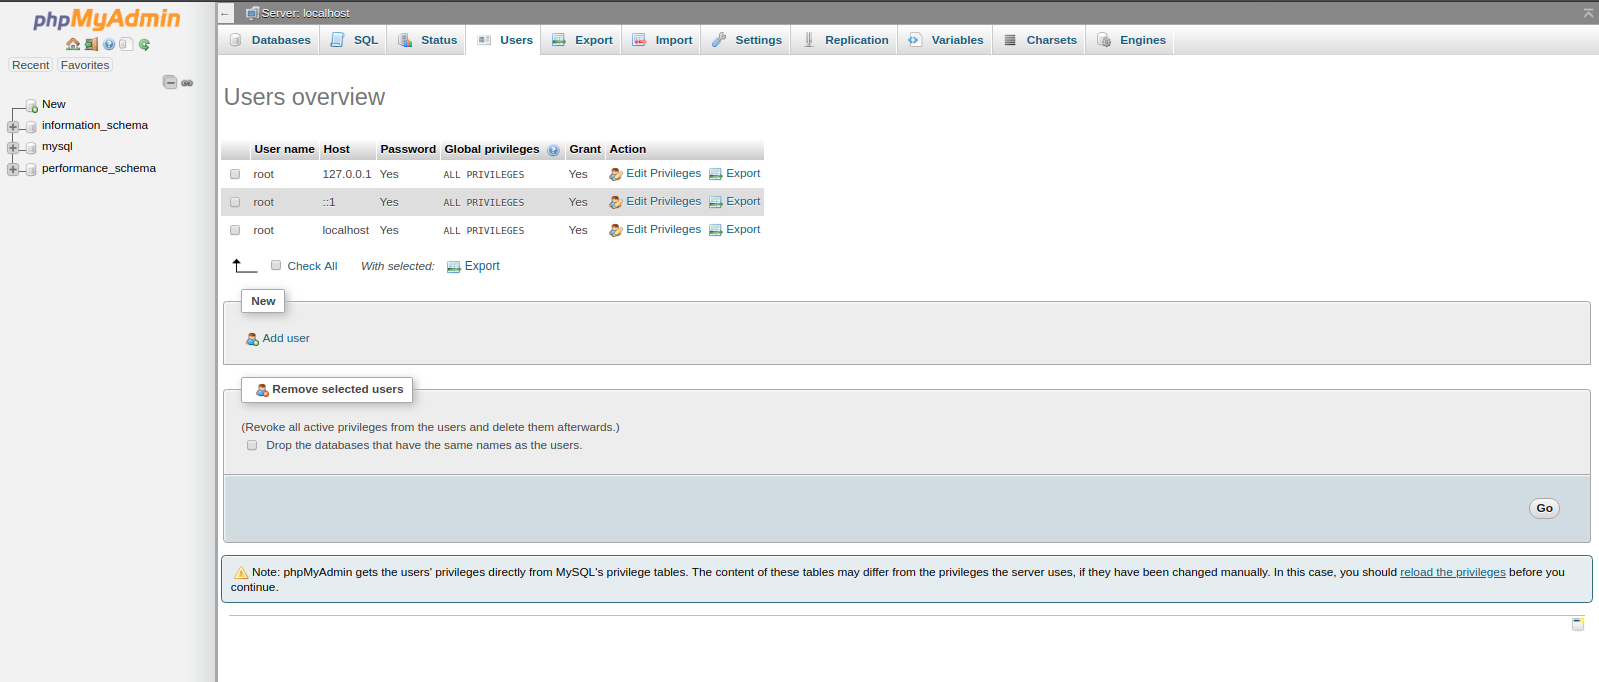
Add the username, password, host as localhost and select the required privileges. Finally click go in the bottom and a new user is created.

Now we will disable root login to phpMyAdmin by editing the phpMyAdmin configuration.
Change the line below line in /etc/phpMyAdmin/config.inc.php.
$cfg['Servers'][$i]['AllowRoot'] = TRUE; // whether to allow root login

$cfg['Servers'][$i]['AllowRoot'] = FALSE; // whether to allow root login
Restart Apache service and try to login as root and you will get Access denied message.
# systemctl restart httpd.service
We have now installed and secured phpMyAdmin interface and access and will now move on to create a website in the Part Four of the series.

Category : Apache, VPS

Albert likes to explore and learn new things. He is hardworking, enthusiastic and is getting expertise in Linux administration, Networking and Security areas. He understands client requirements and is able to act accordingly. He has been working for 2 years with us.


Add new commentSIGN IN