In the previous blogs ( Part-1 , Part-2 ) we have configured OpenNebula to host a CentOS Virtual Machine using the KVM image available online. All the configurations was done via the OpenNebula Command Line Interface. You can do the same configurations using the Sunstone GUI for OpenNebula. Let us see how the OpenNebula Windows VM creation works,
Now let us have tour through the various steps involved with the configurations using Sunstone GUI for OpenNebula
The basic steps to get a VM running are given below
1) Creating an OpenNebula Image using qcow2 image file
2) Creating the Template using the created Image
3) Deploying the VM using the created Template
If the image file of the OS is in qcow2 format, then the Image file gets uploaded to the OpenNebula Image service without any issues.
But at certain points the upload of other formats such as .iso image may fail. In majority cases it would be related with the file size of the image being uploaded.
I came across an issue in deploying a Windows VM in OpenNebula as explained below.
Scenario
I had the Windows ISO file with size 3.6GB. But when I try to upload the Image using the Sunstone GUI, it shows the image is uploaded, but doesn’t show up in the Image List.
So I had to do the configurations using the CLI for KVM virtualization ie virsh.
Now lets see how to deploy a Windows VM using the KVM CLI to be used with OpenNebula.
Windows .qcow2 Image Creation
Here I’m having a Windows 7 installation ISO file uploaded to the OpenNebula server(192.168.1.2). Lets assume the file is located at /var/lib/windows7_install.iso
Step 1: Create a folder /var/lib/image and make “oneadmin” as the owner of the folder.
root@opennebula:~# mkdir /var/lib/image
root@opennebula:~# chown -R oneadmin /var/lib/image

root@opennebula:~# cd /var/lib/image
Step 2:
Create an empty Image file of size 15 GB using the qemu-image command. The size will be the size of the Disk Image in OpenNebula. If you want the Windows installation to have 20 GB disk, replace 15G with 20G in the command below.
root@opennebula:/var/lib/image# qemu-img create -f raw win7.img 15G
The above command will create an empty raw image file named win7.img having size 15 GB
Step 3:
Create a Libvirt deployment file to be used with the VIRSH CLI named “/var/lib/image/win7-deployment” with the following contents.
================================================
<domain type=’kvm’ xmlns:qemu=’http://libvirt.org/schemas/domain/qemu/1.0′>
<name>win-7</name>
<memory>1048576</memory>
<os>
<type arch=’x86_64′>hvm</type>
<boot dev=’hd’/>
<boot dev=’cdrom’/>
</os>
<on_reboot>restart</on_reboot>
<on_crash>restart</on_crash>
<devices>
<emulator>/usr/bin/kvm</emulator>
<disk type=’file’ device=’disk’>
<source file=’/var/lib/image/win7.img’/>
<target dev=’hda’/>
<driver name=’qemu’ type=’raw’ cache=’default’/>
</disk>
<disk type=’file’ device=’cdrom’>
<driver name=’qemu’ type=’raw’/>
<target dev=’hdc’ bus=’ide’/>
<readonly/>
<source file=’/var/lib/windows7_install.iso’/>
<address type=’drive’ controller=’0′ bus=’1′ unit=’0’/>
</disk>
<controller type=’ide’ index=’0′>
<address type=’pci’ domain=’0x0000′ bus=’0x00′ slot=’0x01′ function=’0x1’/>
</controller>
<!–use one network –>
<interface type=’network’>
<source network=’default’/>
</interface>
<graphics type=’vnc’ port=’5950′ listen=’0.0.0.0’/>
</devices>
<features>
<acpi/>
</features>
</domain>
================================================
The entry “<source file=’/var/lib/image/win7.img’/>” points to the blank raw .img file location and the “<source file=’/var/lib/windows7_install.iso’/>” points to the installation .iso file.
Make sure to use the correct path/location of the respective files.
Step 4:
Now all the preflight files and configurations are done, we can now proceed to make the changes using the virsh shell.
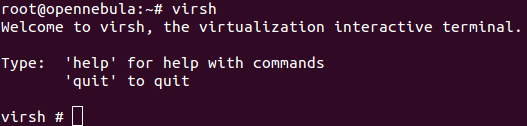
Enter the below command to enter the virsh shell.
root@opennebula:~# virsh
You will be dropped to the virsh CLI prompt as shown in the screenshot below.
Step 5
Create the Domain using the “win7-deployment” file using the below virsh command.
virsh # create /var/lib/image/win7-deployment
You will get the output as shown in the screenshot below.
Step 6:
Use the list command to list the created Domain
virsh #list
The output should be similar to the one shown in the screenshot. It shows the newly created win-7 domain.

Step 7 :
Enter vncdisplay command to show the port the VNC server for the domain win-7.
virsh # vncdisplay 7
here 7 is the domain ID.
This will list the VNC port to connect as shown in the screenshot below.
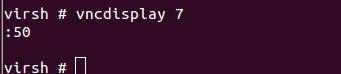
- Use any VNC viewer to access the VNC server. The connection is made from the client to server using 192.168.1.2:50. If the vnc connection is not working or getting disconnected, try using a different VNC client.
- You will get the Windows7 installation screen. Proceed and complete the Windows 7 installation. Once the installation is complete, the raw image file “/var/lib/image/win7.img” will have the installed windows 7 contents.
- Now, convert the image file from ârawâ to âqcowâ so that it can be used with OpenNebula. Change the directory to /var/lib/image as root user and execute the following command.
root@opennebula:/var/lib/image# qemu-img convert -O qcow2 win7.img win-7.qcow2
This will create the win7.qcow2 image file in /var/lib/image directory to be used with OpenNebula ð
Note: For Vmware VM disk image having .vmdk file format, you can use the above qemu-img command to convert the file to .qcow2 format to be used with OpenNebula. Once converted, you can follow the same procedures mentioned to deploy the VM from that image.
From here on we follow the same procedures, as in creating a CentOS VM as mentioned in part 2 of this tutorial.
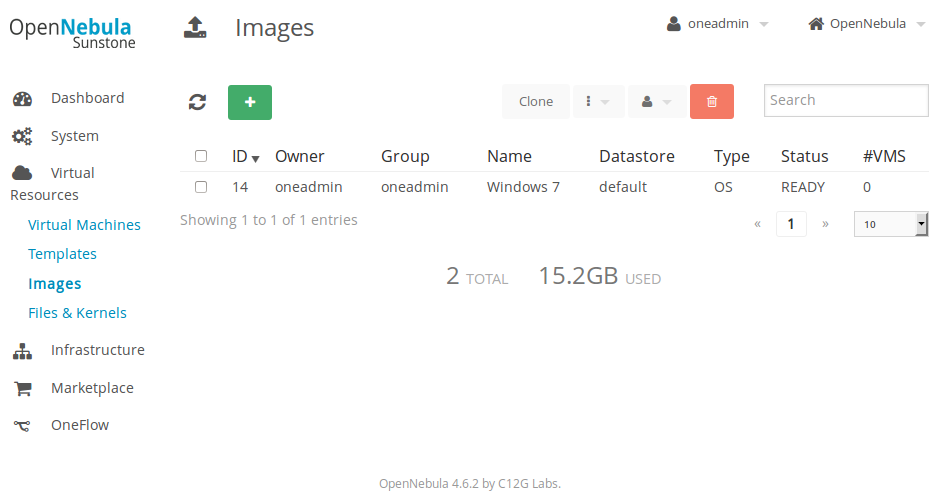
1. VM image Creation
First switch to oneadmin user and then create the OpenNebula Image
root@opennebula:~# su - oneadmin oneadmin@opennebula:~$ oneimage create --name âWindows 7â --path â/var/lib/image/win7.qcow2â --driver qcow2 --datastore default
This will create the OpenNebula Image and can be seen under the âImagesâ option under the âVirtual Resourcesâ tab of Sunstone GUI. See the screenshot below.
2. VM Template Creation
Create a template that uses the disk as the image created in the previous step.
oneadmin@opennebula:~$ onetemplate create --name âwin7-templateâ--cpu 1 --vcpu 1 --memory 512 --arch x86_64 --disk âWindows 7â --nic âprivateâ--vnc
Note: Here the –name defines the template name, —disk refers the Image name to be used, –nic option specifies the Virtual network to be used, —cpu and —vcpu defines the number of cpuâs and virtual cpuâs to be used respectively, —memory defines the amount of memory to be allocated to the VM, —arch defines the architecture of the VMâs operating system(32/64bit) and —vnc enables vnc server.
The Virtual Network I’m using is the one created earlier(part 2 of this tutorial)
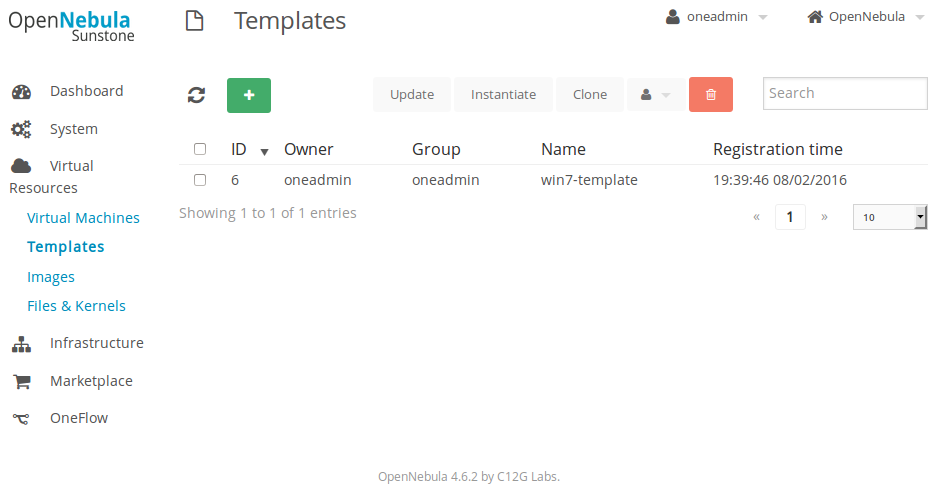
Once done you will have a template named “win7-template”. You can view it from the âTemplatesâ option under the âVirtual Resourcesâ tab of Sunstone GUI. Refer the screenshot below.
3. Deploy or Instantiate VM
Use the template created in the above step to deploy the new VM.
oneadmin@opennebula:~$ onetemplate instantiate âwin7-templateâ âname âWindows7Vmâ
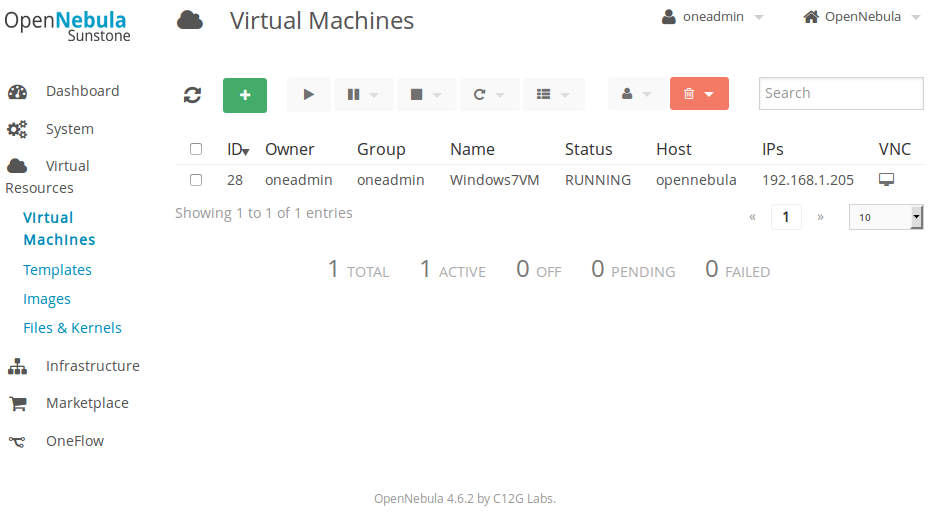
This will create the VM named “Windows7VM” using the template file “win7-template”. You can see the VM using âVirtual Machinesâ option under the âVirtual Resourcesâ tab of Sunstone GUI. See the screenshot below.
You can select the VM and use the VNC viewer from Sunstone GUI to access the VM as shown in the image below.
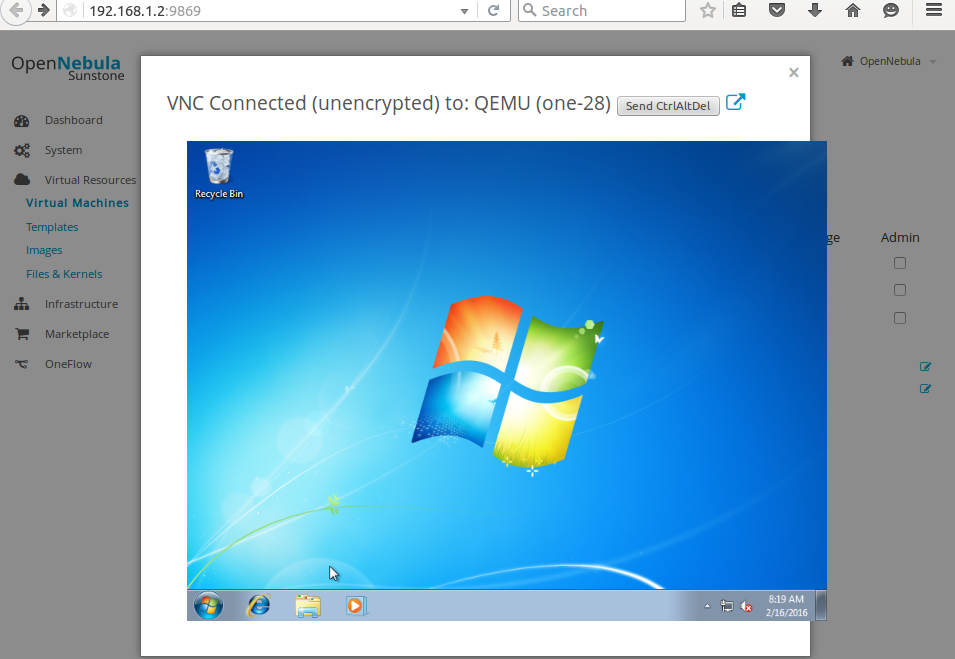
Now we have a running Windows VM under OpenNebula Cloud architecture. In the next Tutorial we will see how to manage the VM’s, like duplicating the VM disk, migrating live, cloning of VM’s etc.
![]()
Recommended Readings
OpenNebula IaaS Cloud Installation on Ubuntu – Part1
OpenNebula on Ubuntu â Part 2 â VM Creation and Management